IN THIS LESSON
How to cut your mount
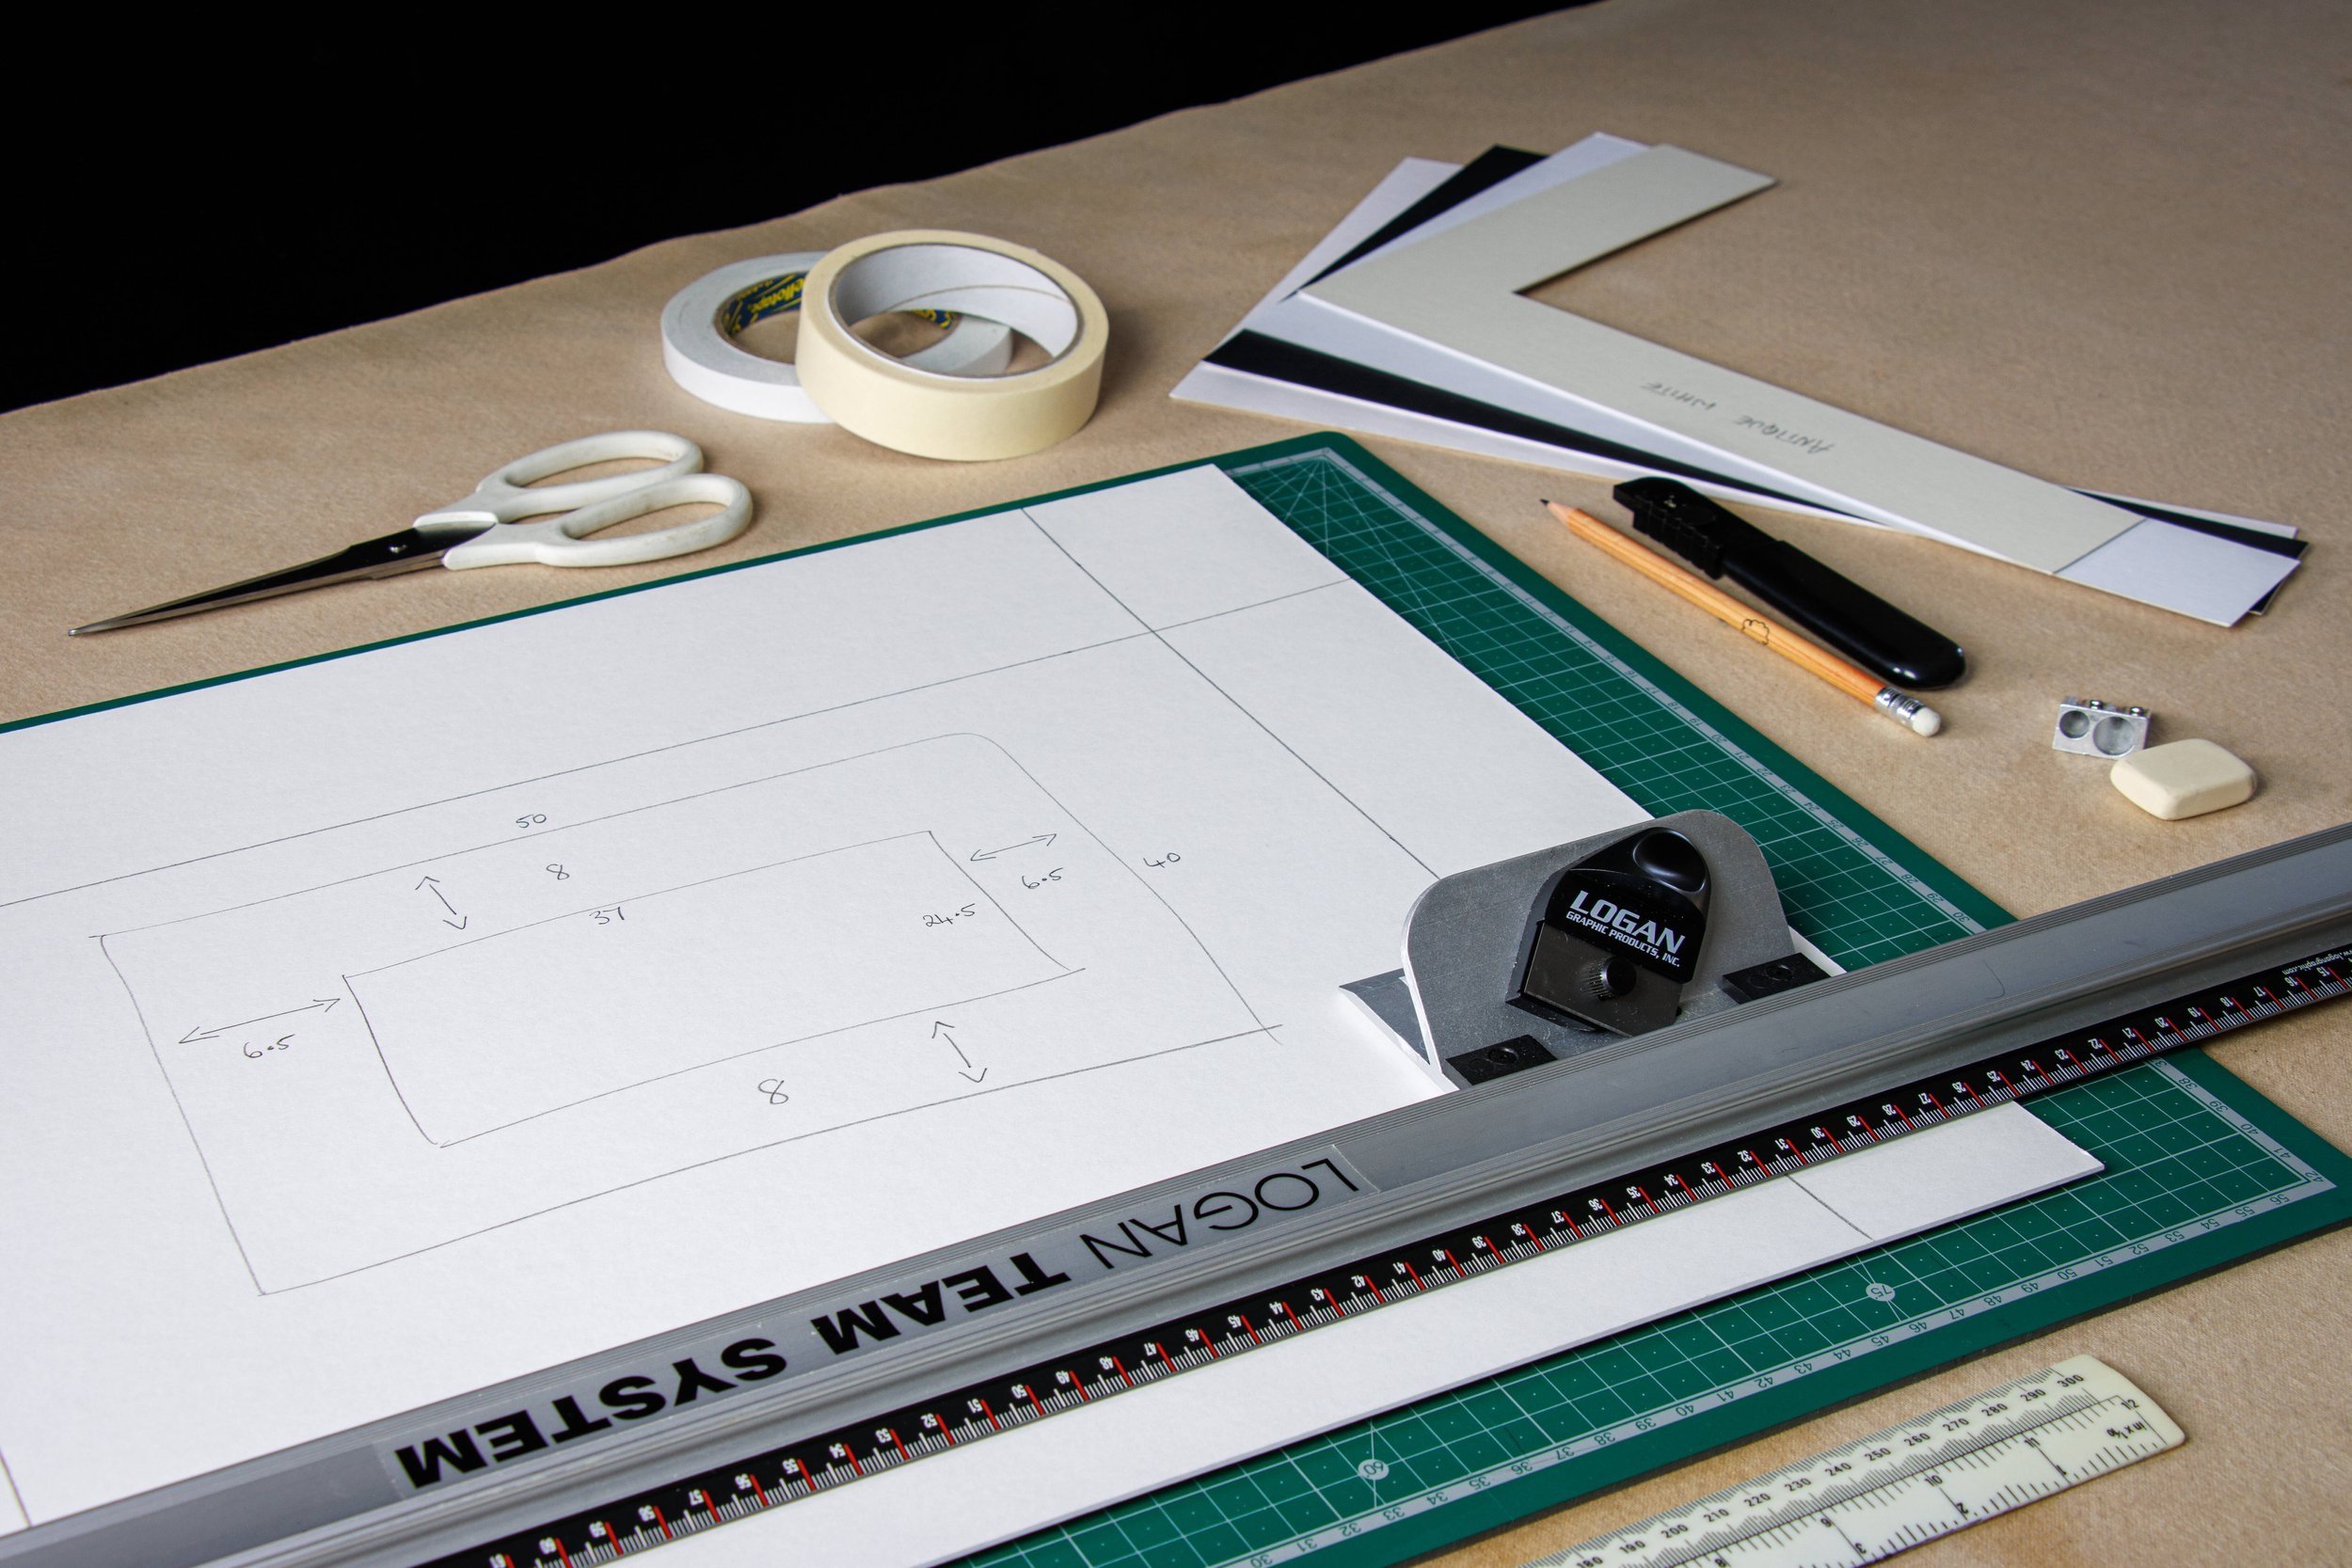
1 Lay your print on the mount board and decide the best placement. It is always looks better to have a wider border at the bottom than the top. (Do not make your print look cramped by making the border too narrow) If not using pre-cut board - measure and accurately cut your board to size using a ‘Stanley’ type blade and a cutting mat.
2 Measure your print less approx. 5mm all round. On the back of your mount board mark out very carefully where you are going to cut out your ‘window’ check and re check!
3 Using a mount cutter carefully cut out the ‘window’ (best to practice a bit first!). Make sure you use a cutting mat or something similar so that you do not cut an mark the underlying surface such as a table.
Recommended basic cutter - Logan Team System 2000 model 424 available from Uk Premier Supplies Ltd (this link also includes a video and other info) Price about £73.66 (or shop around) Pack of 10 spare blades about £5 other models are available - see Paper-spectrum as is the mount board.
Any colour is permitted of mount is acceptable. An off white such as ‘antique white’ or ‘pale ivory’ is most used as it compliments most images. Black is sometimes used - particularly for monochromes. Use other colours with great care - make sure they do not detract from the image.

